
A mailbox on your own name does two jobs: guests reach a person, and every automatic email your restaurant sends — confirmations, reminders, receipts — wears the same address. Four steps, one login.
Settings → EmailNeeds a live domain · guide 02
Open Settings and click Email in the left-hand list — the section for mailboxes and guest email sending.
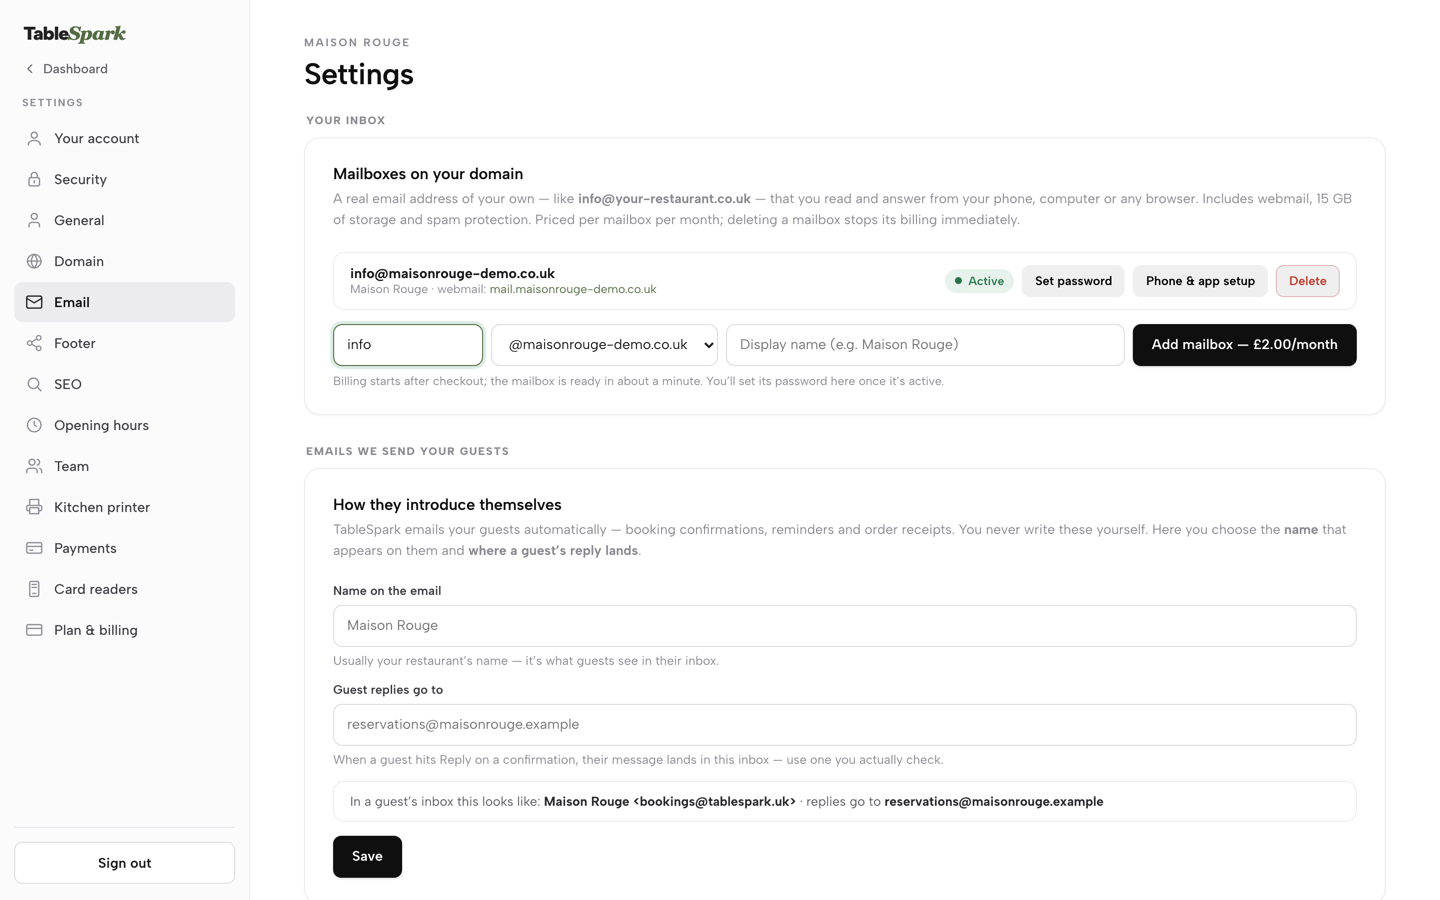
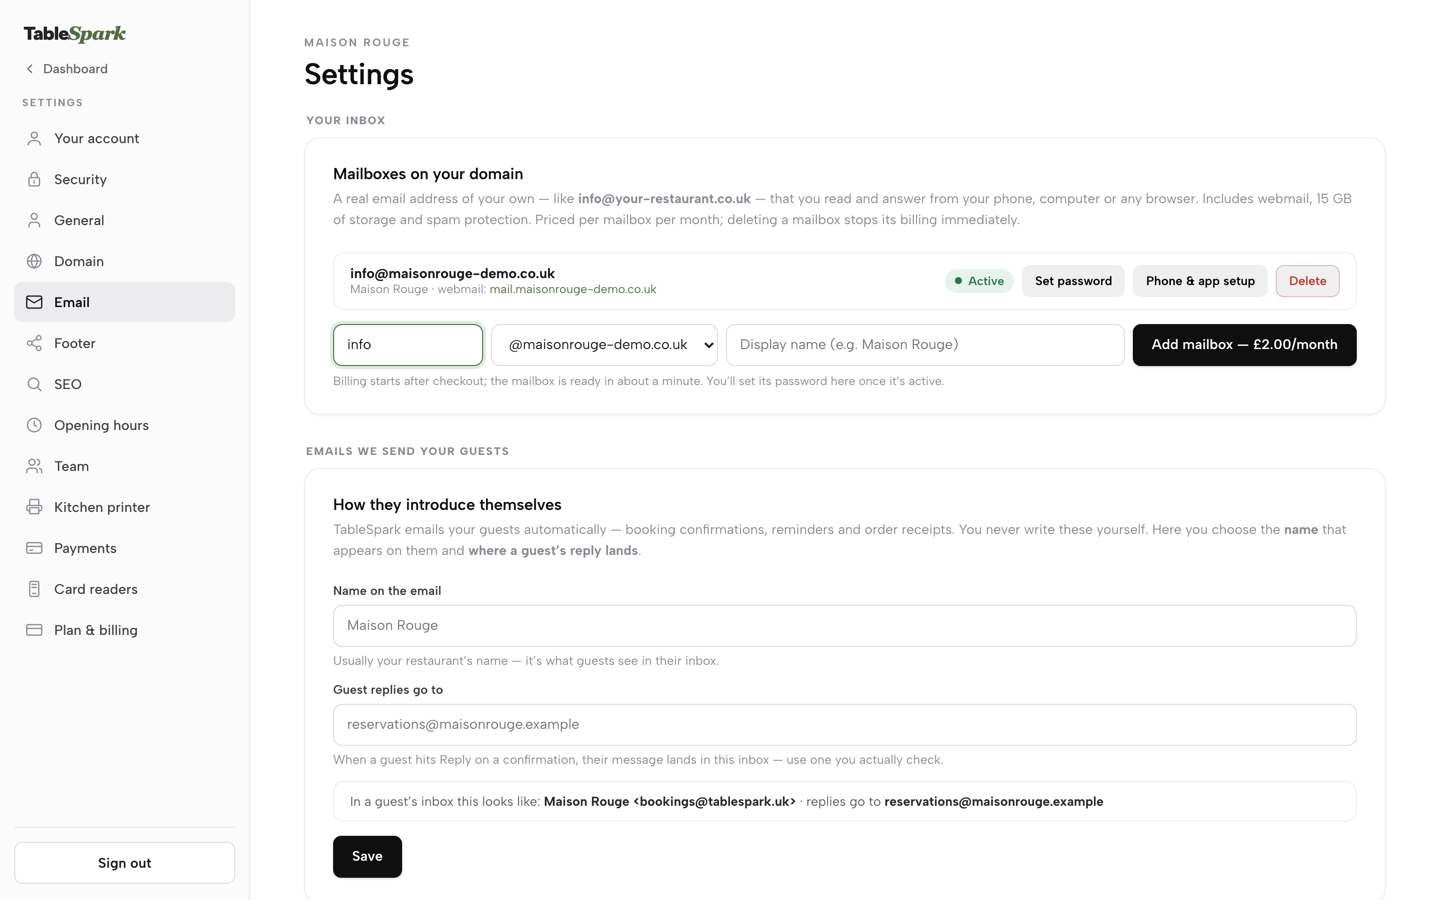
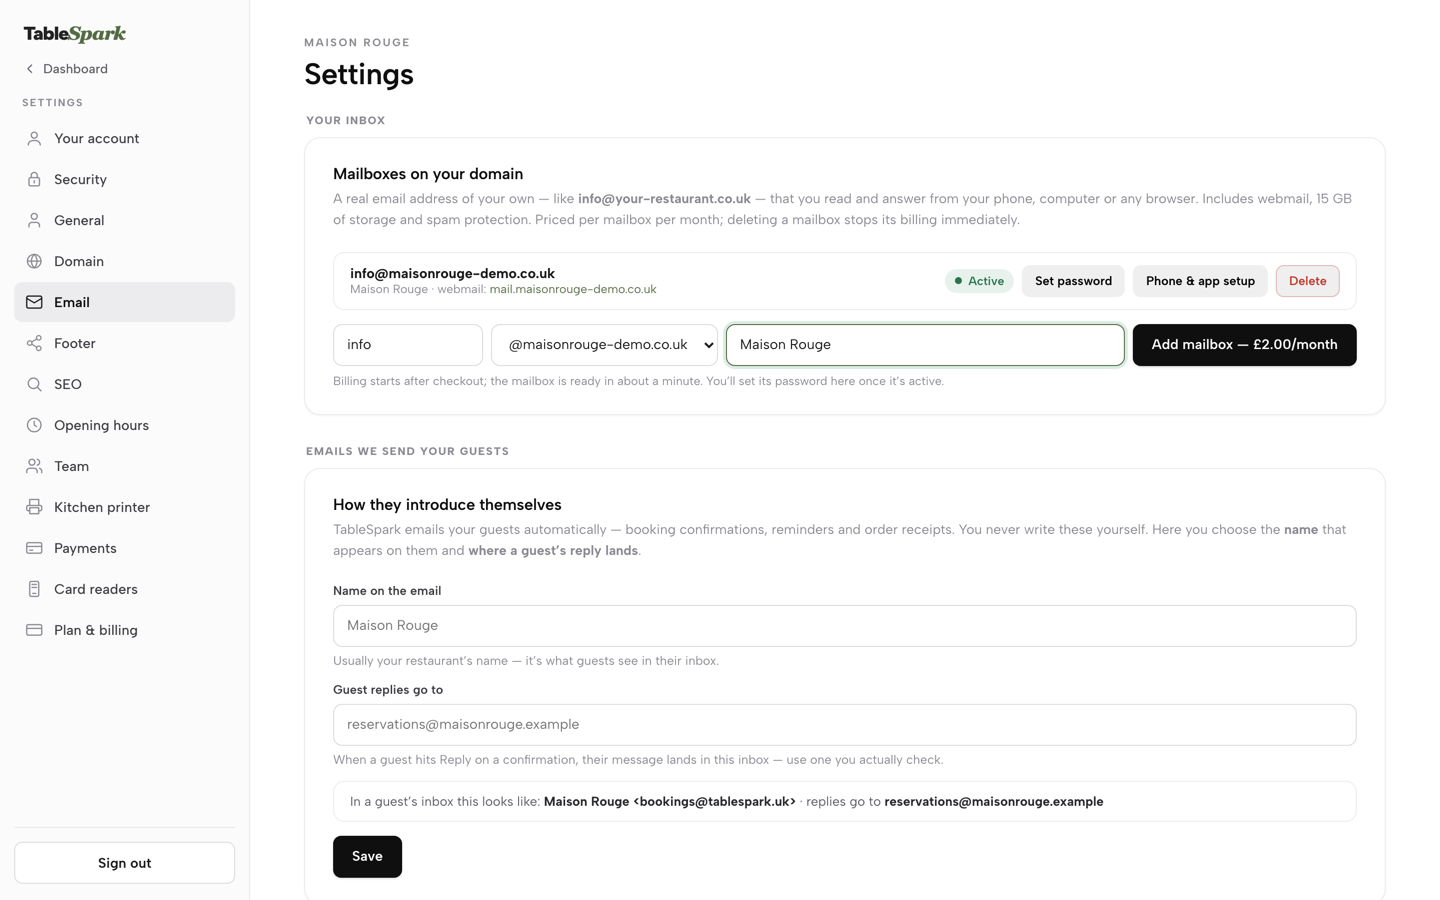
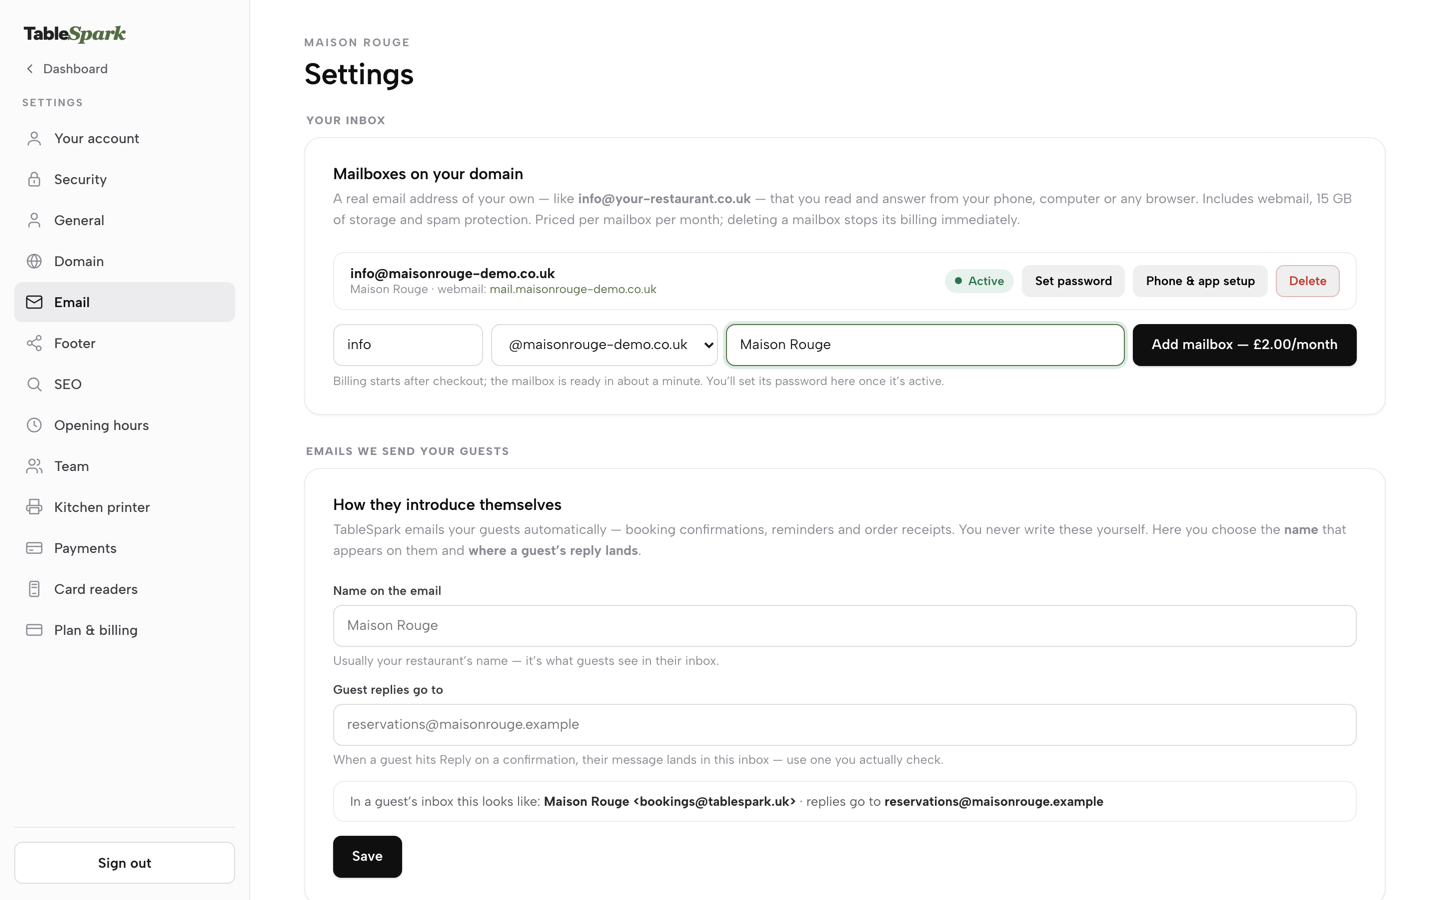
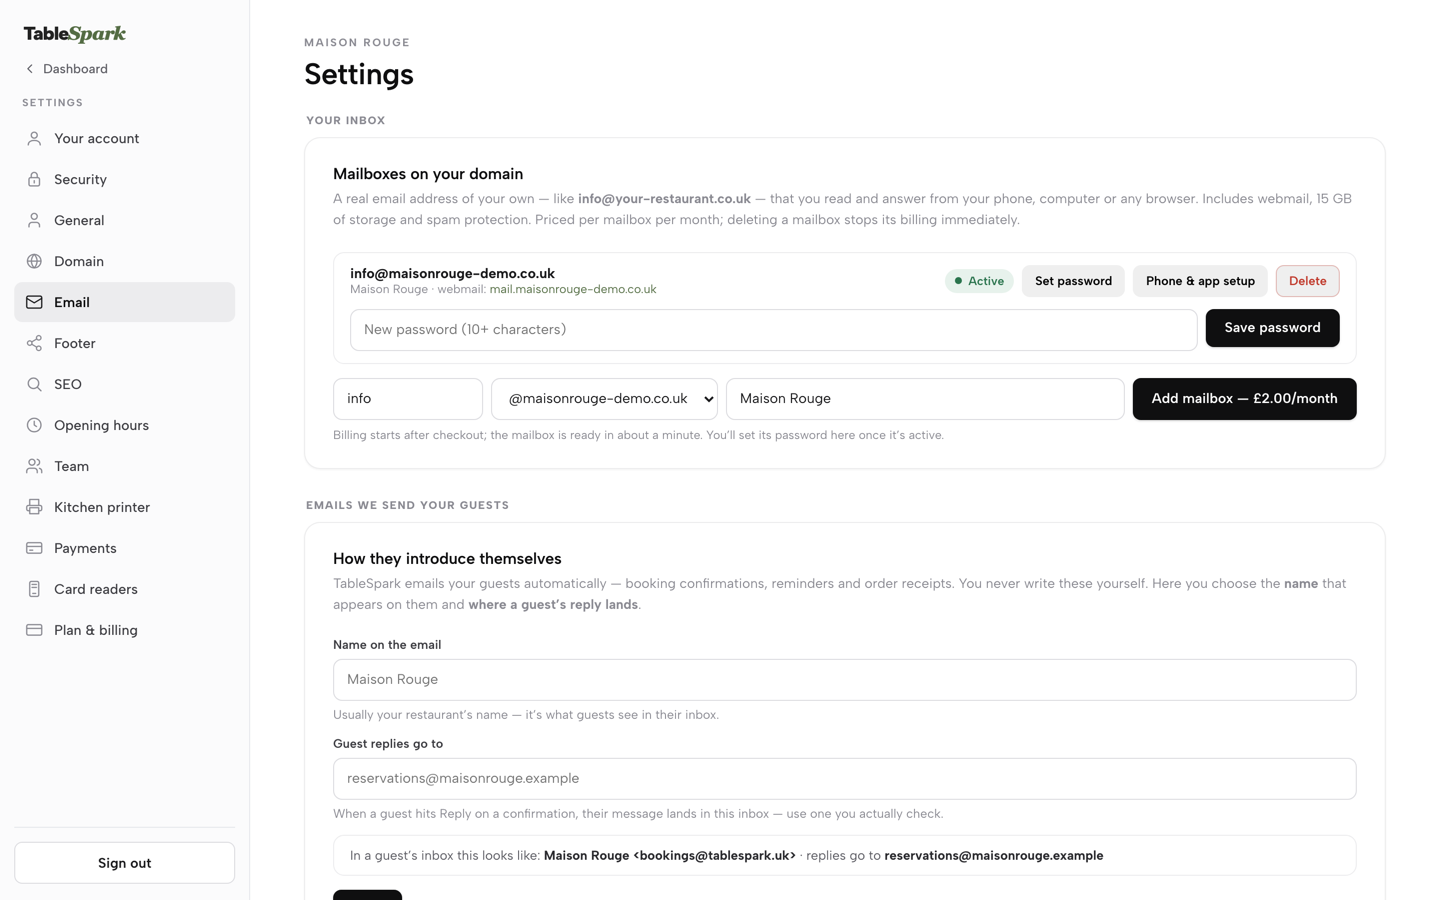
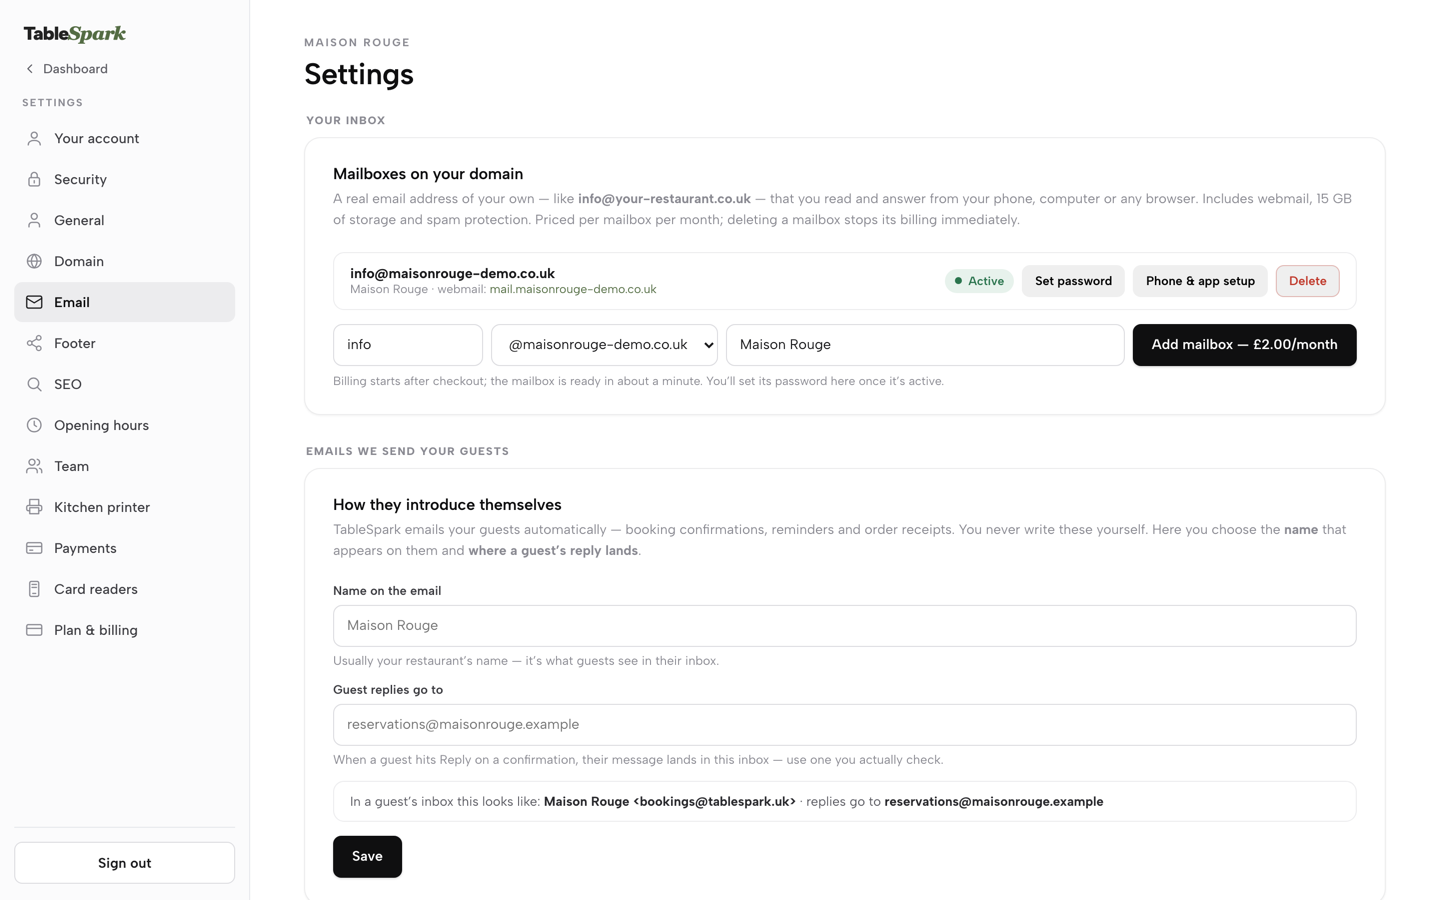
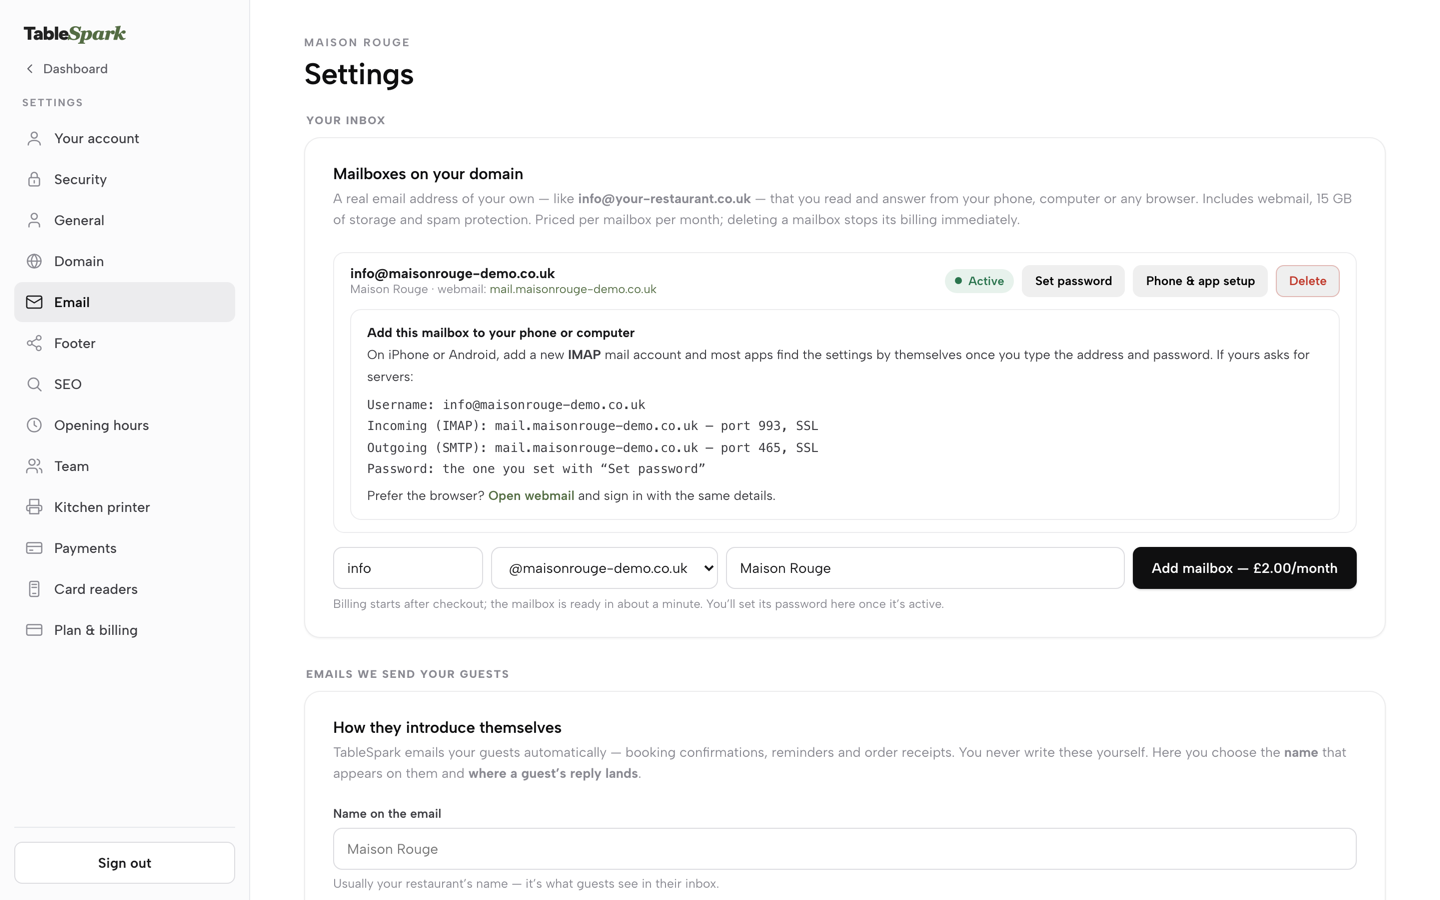
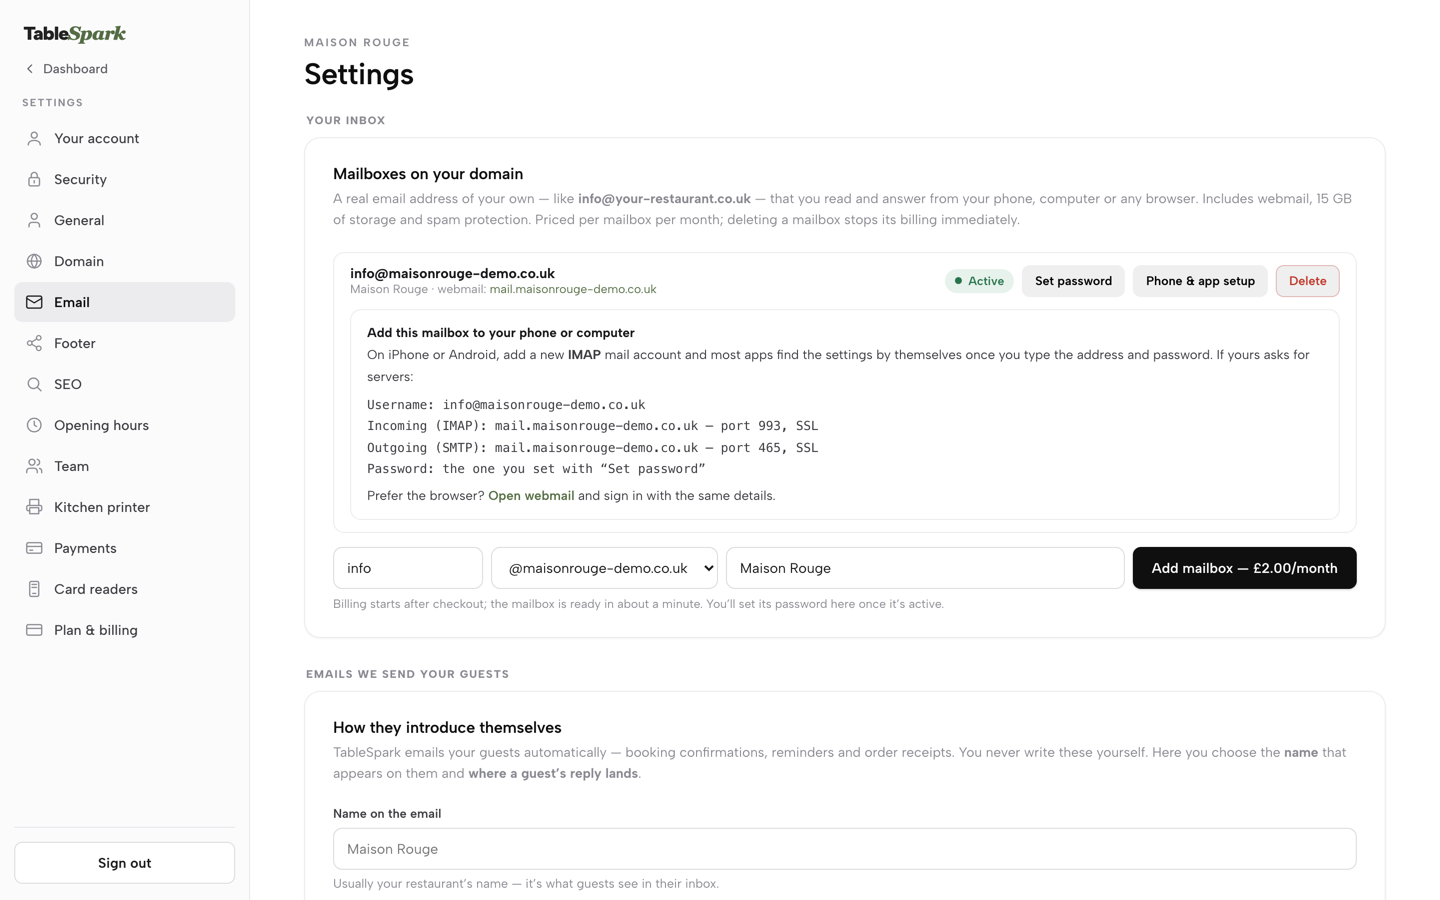
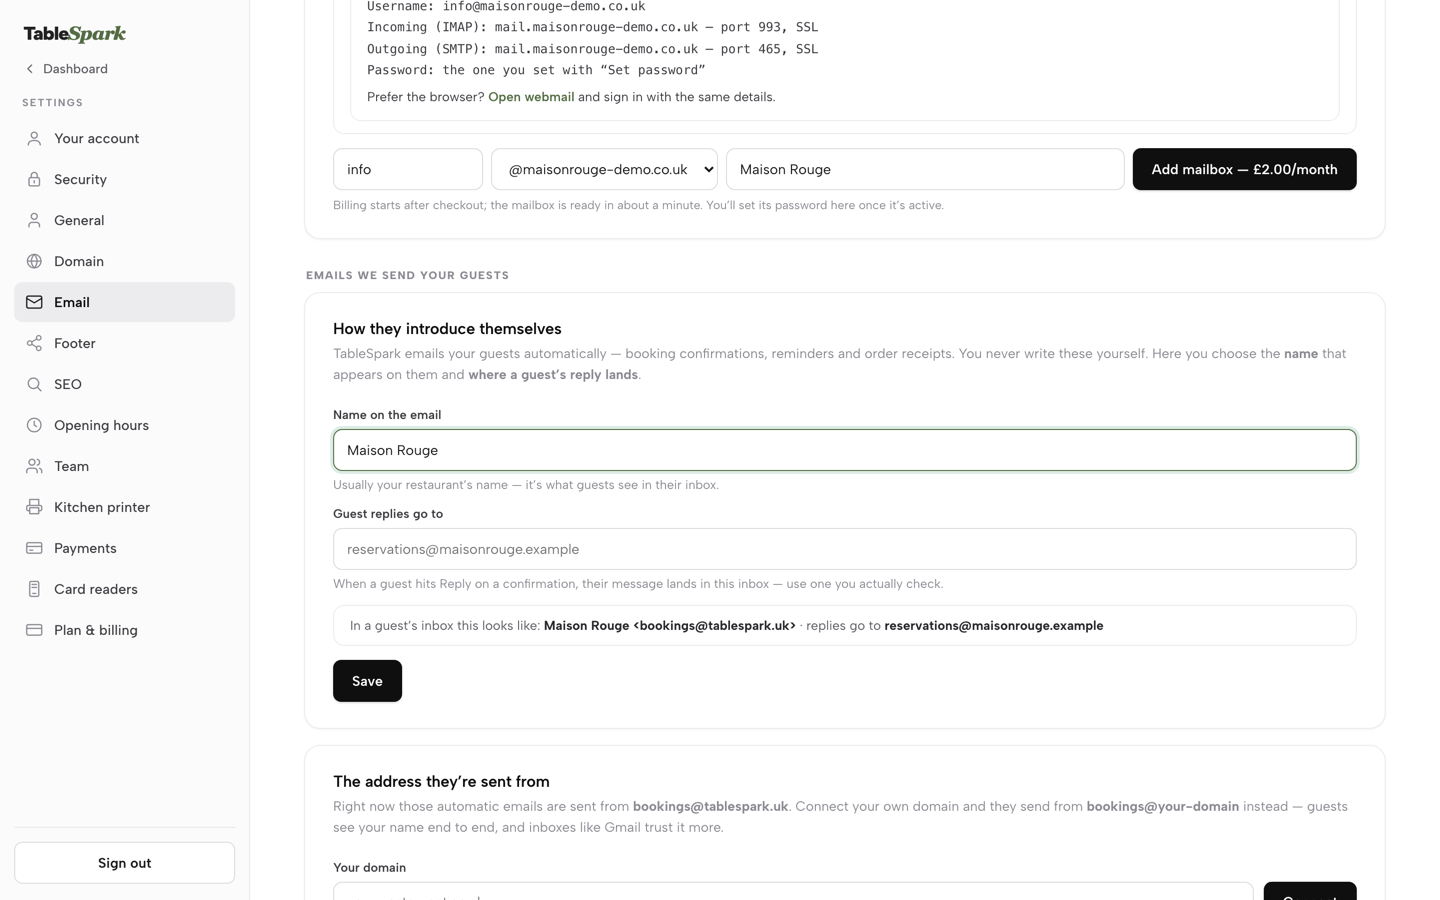
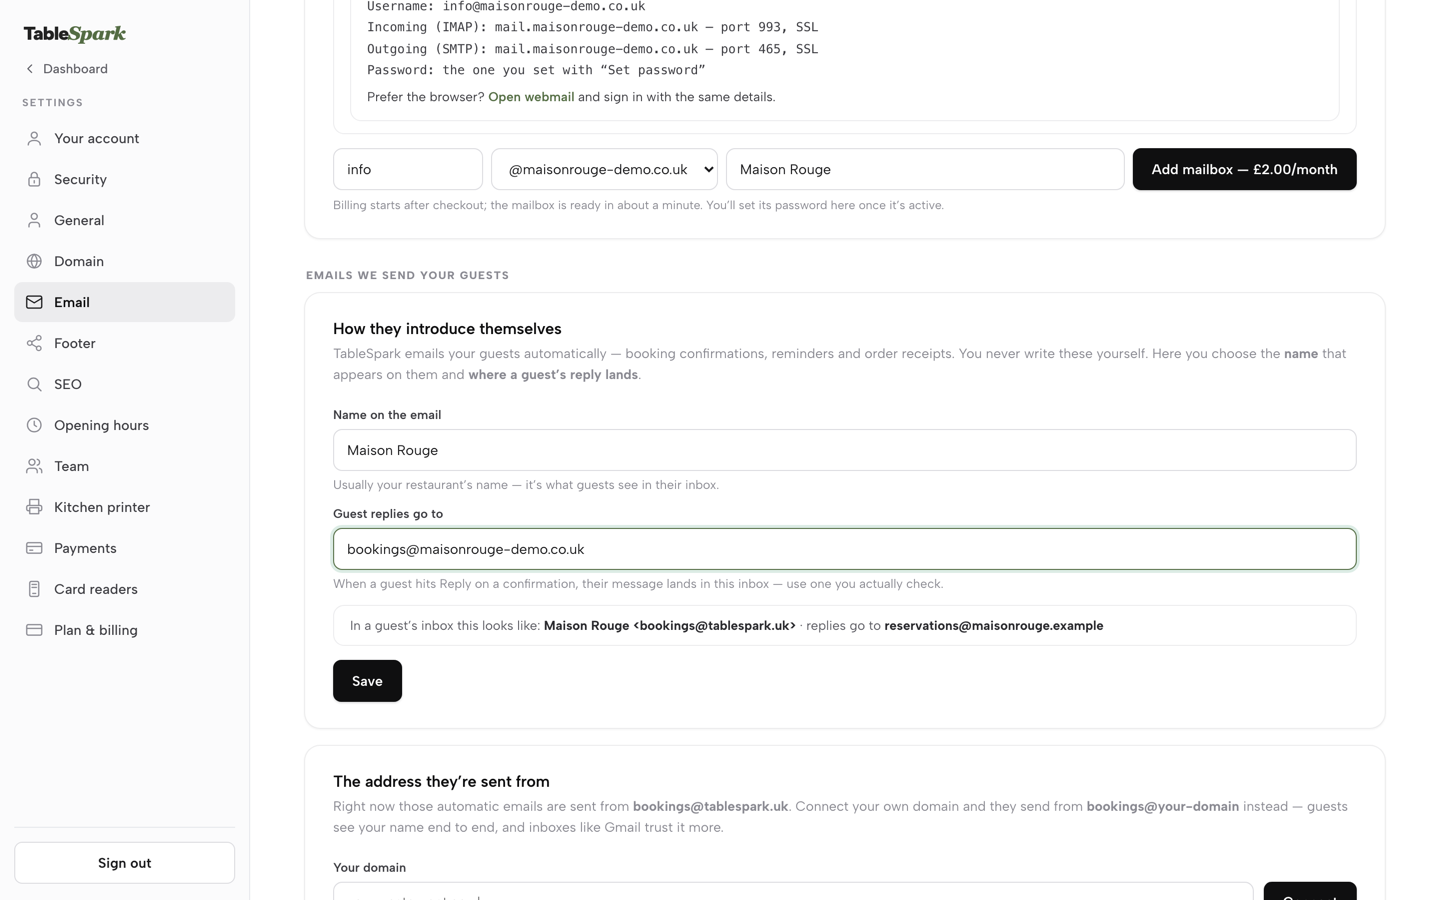
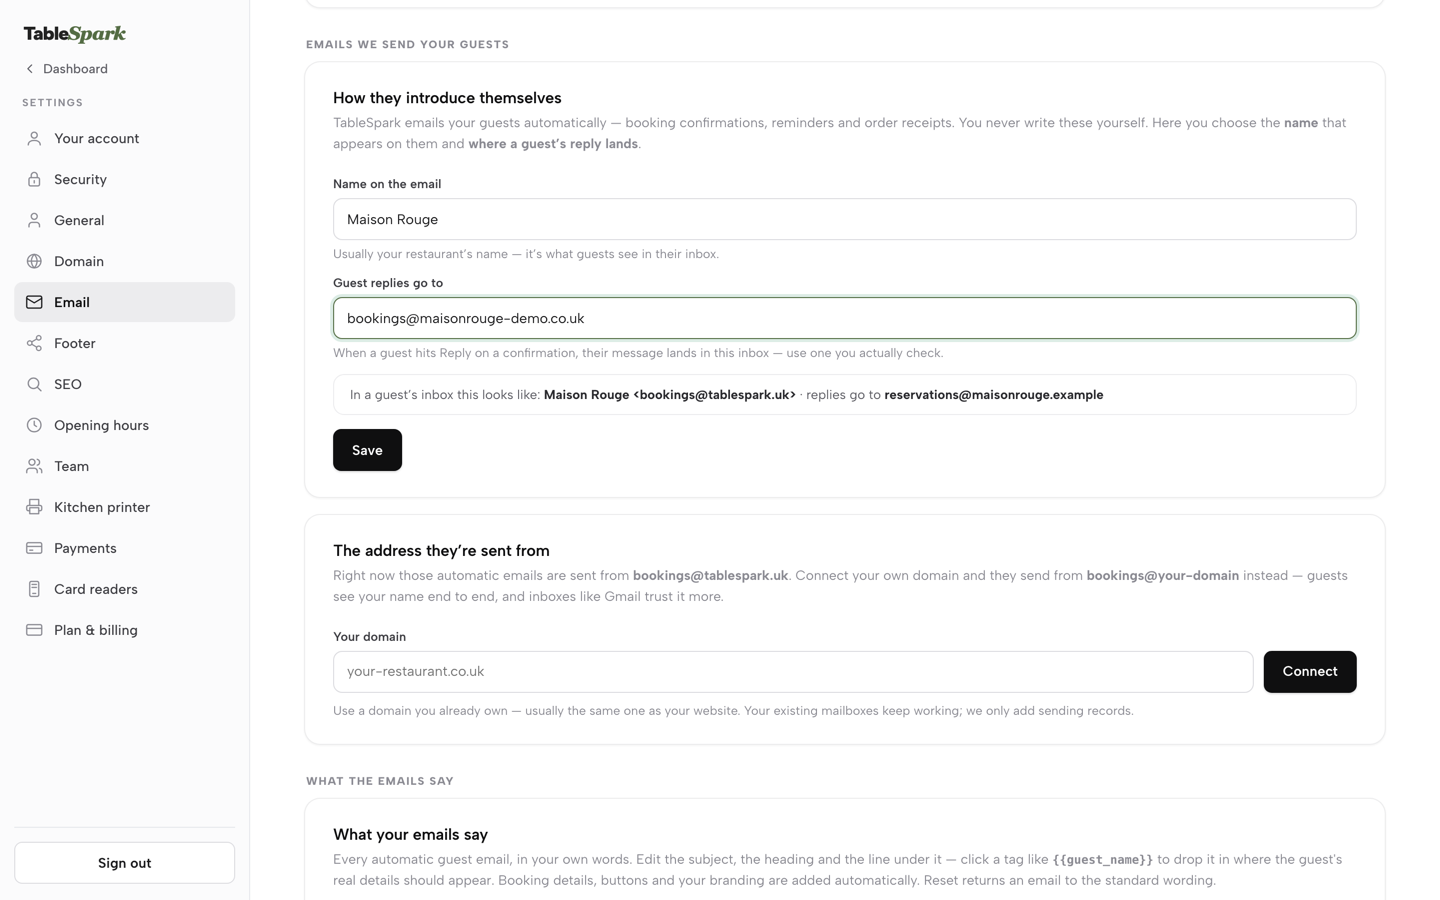
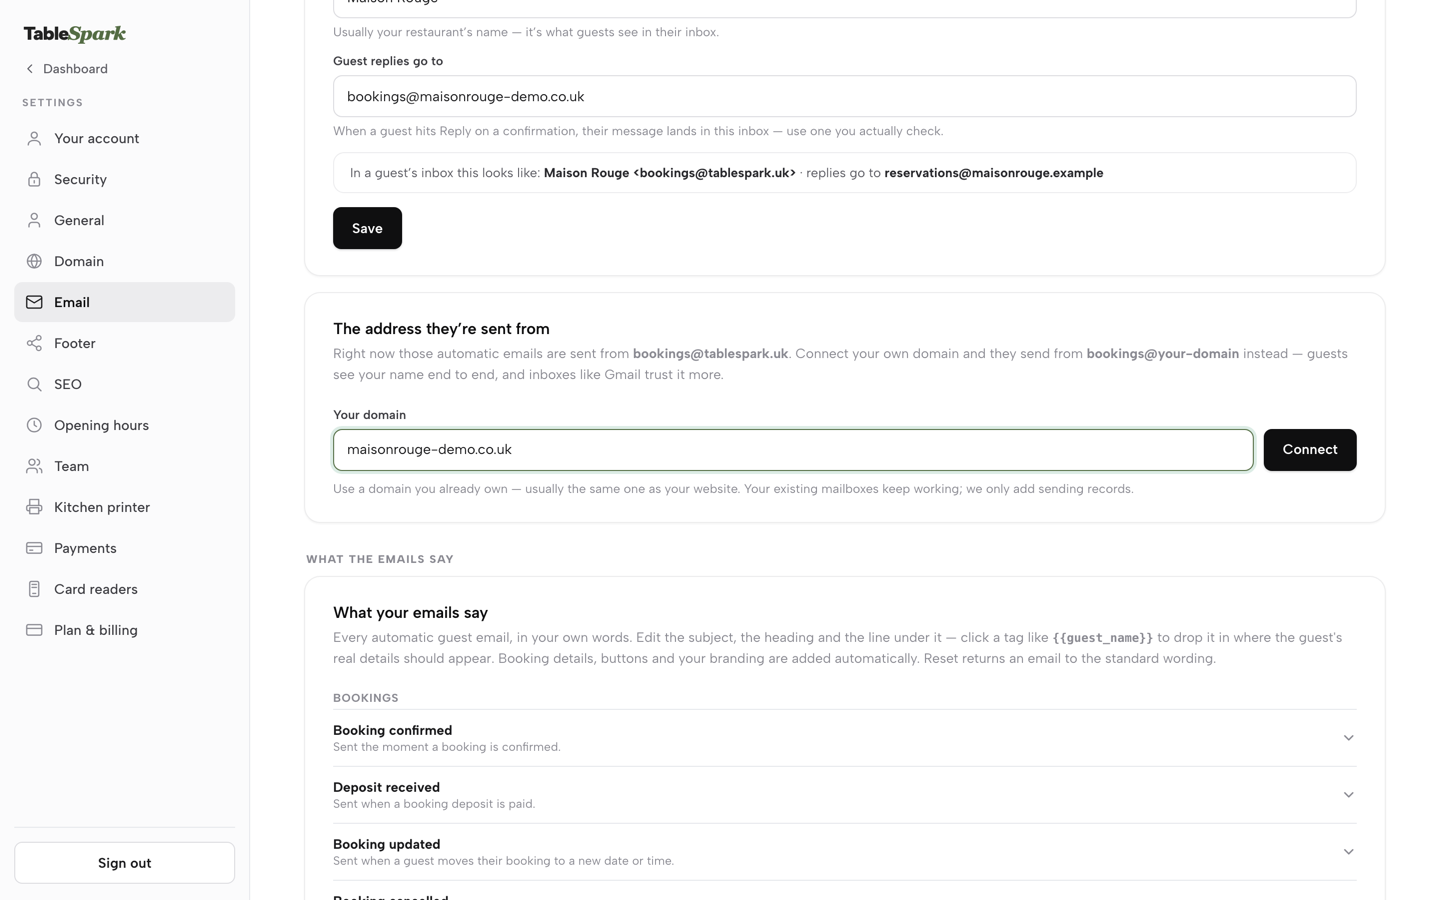
A mailbox named, its password and phone settings found, webmail opened, and guest emails given your name, your reply address and your own sending domain — Add mailbox, Save and Connect would make it real.
- WHAT YOU NEED
- A live domain — guide 02 first
- TIME
- About 5 minutes
- HOW HARD?
- Like adding any account to your phone
- CAN I BREAK IT?
- No — delete a mailbox anytime, one button
IN PLAIN WORDS / TAP A TERM
What’s “IMAP”?
The setting that lets your phone or laptop’s mail app read your mailbox — the “incoming” side. TableSpark’s IMAP runs on port 993 with SSL, ready to copy into any mail app.
What’s “SMTP”?
The “outgoing” setting — how your mail app sends email from your new address. Port 465 with SSL, shown right alongside IMAP in the same setup card.
What’s “webmail”?
Your mailbox in a browser, no app needed. Sign in from any computer with the webmail link sitting on the mailbox row.
What’s a “sending address”?
The address TableSpark’s automatic emails — booking confirmations, reminders, receipts — go out from. It starts as bookings@tablespark.uk; connect your own domain and every one of them wears your name.
Create your mailbox
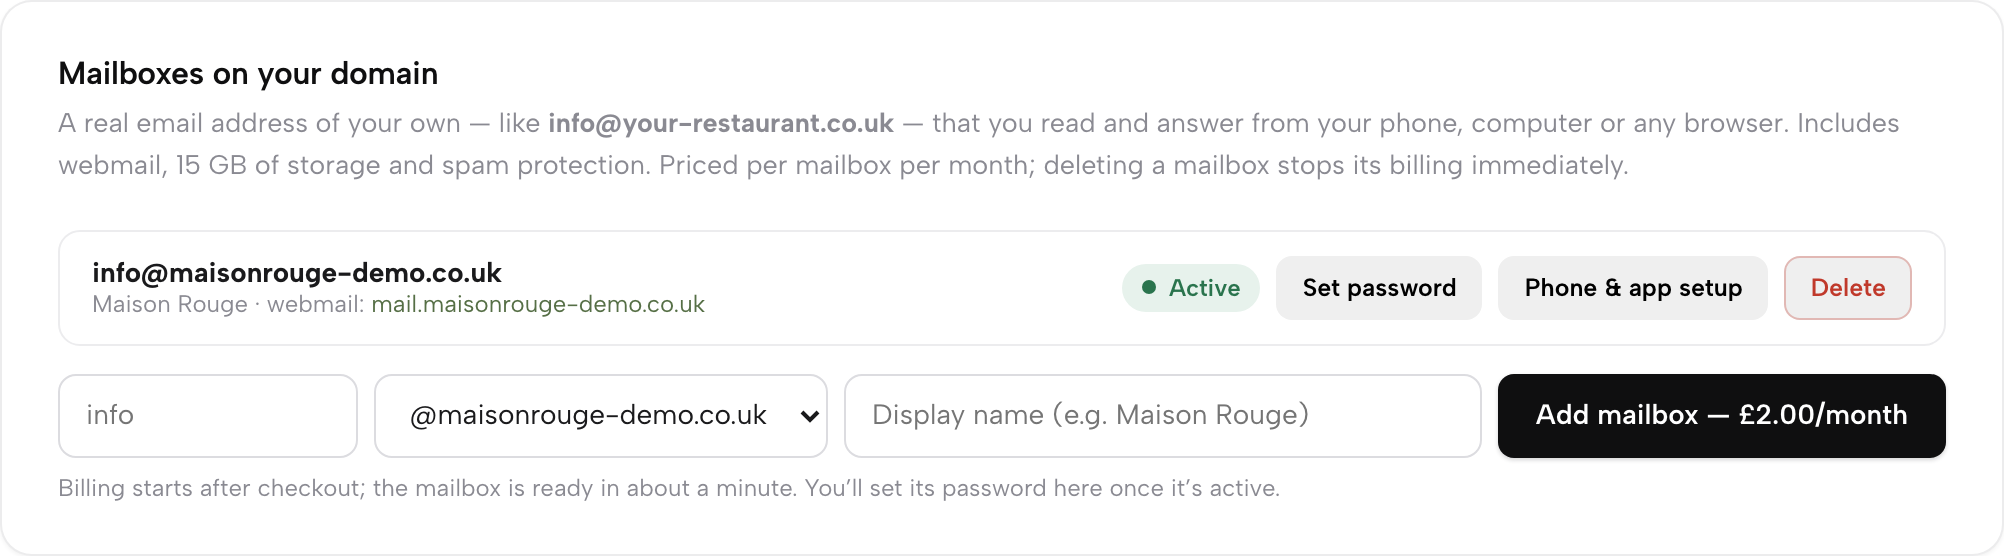
Open Settings → Email. The first card, Mailboxes on your domain, creates a genuine email account — info@your-restaurant.co.uk — with webmail, 15 GB of storage and spam protection, for £2 a month. Type the part before the @ (most restaurants start with info), pick your domain, add the display name guests should see, and press Add mailbox. Card checkout, then the mailbox builds itself in about a minute.
Set your password
When the row shows Active, press Set password, type a password of 10 or more characters and press Save password. It is the one you’ll sign in with, and TableSpark never stores it.
Deleting a mailbox later works the way you’d hope: one button, and the monthly billing stops with it.
Sign in on your phone
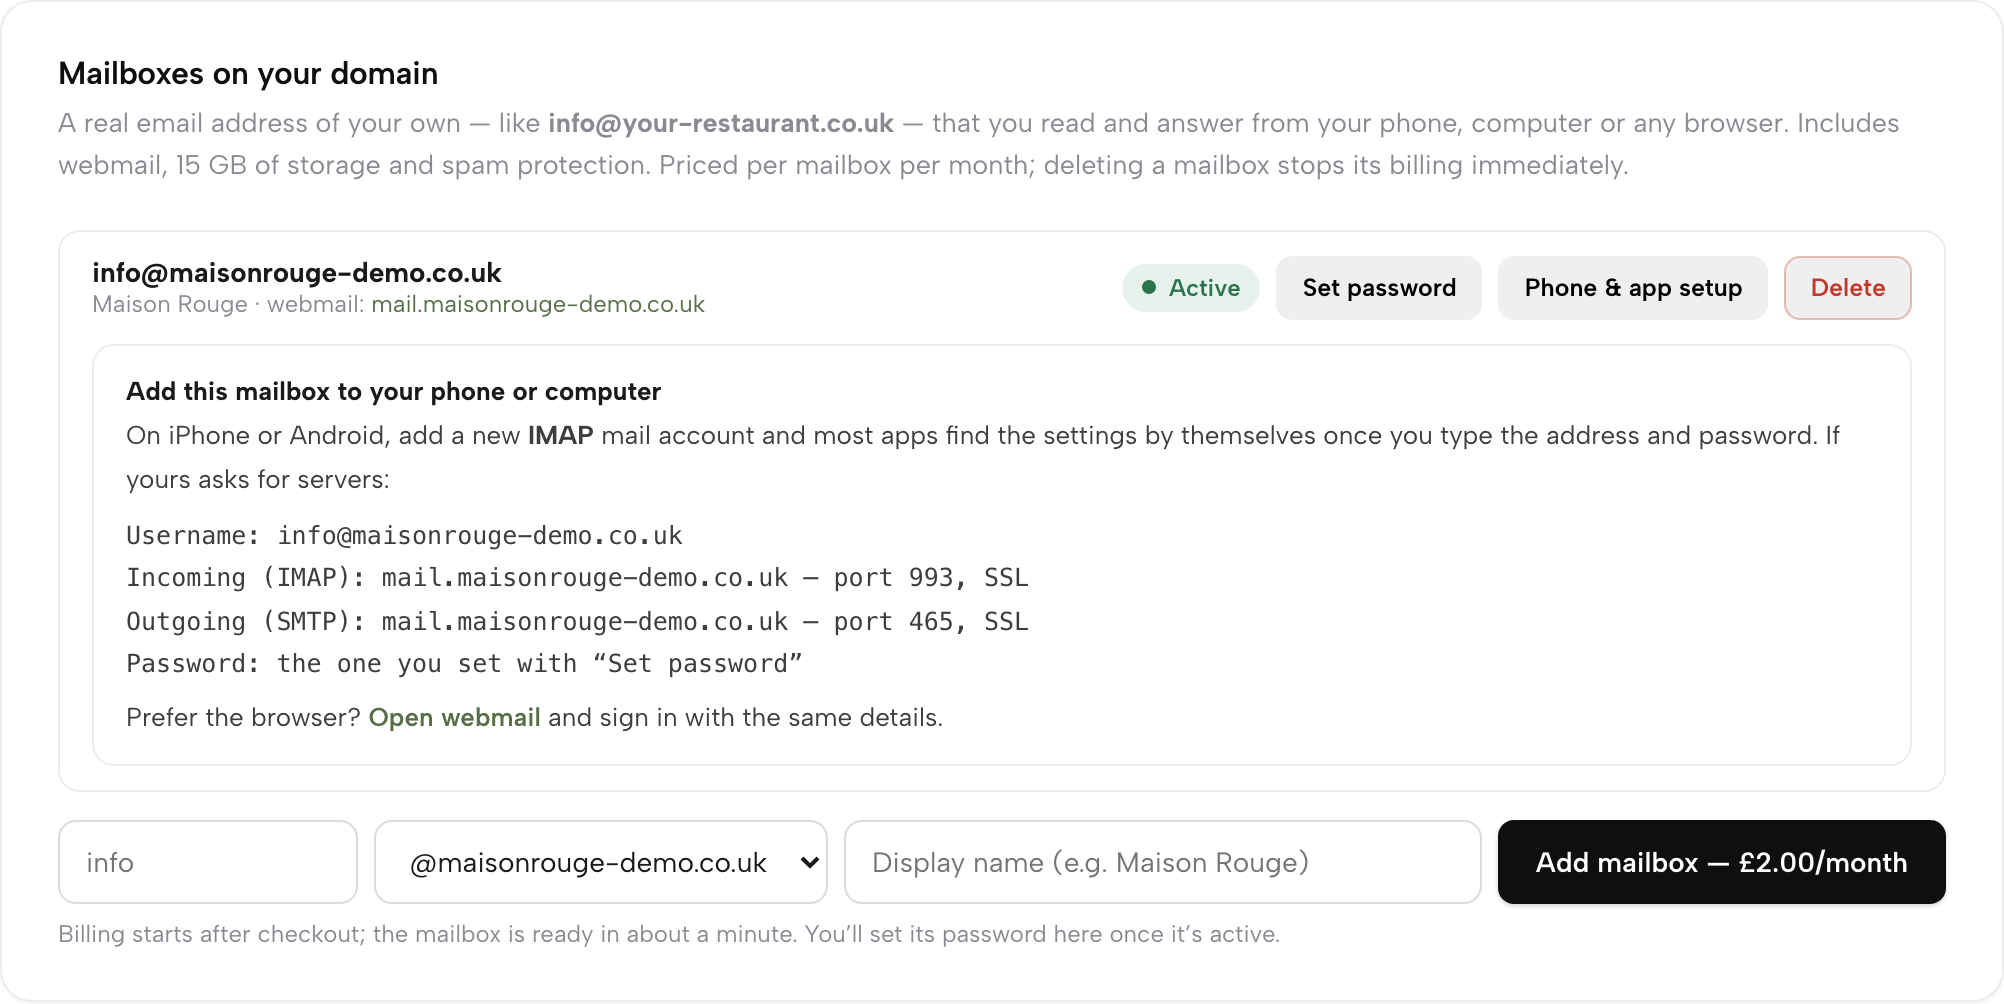
Press Phone & app setup on the mailbox row and the card, Add this mailbox to your phone or computer, spells out what to type. On iPhone or Android, add a new IMAP mail account; most apps find the settings by themselves once you type the address and password. If yours asks for servers, copy the username, the incoming and outgoing servers and the password note from the card. Prefer a browser? Click Open webmail in the same card, or the webmail link under the address, and sign in with the same details.
Point guest emails at your address
Below the mailboxes, Settings → Email controls the emails TableSpark sends for you — booking confirmations, reminders, order receipts. In How they introduce themselves, set the Name on the email to your restaurant’s name, put an inbox you actually check under Guest replies go to — your new info@ address is the natural choice — and press Save. A line under the fields shows how it will look in a guest’s inbox.
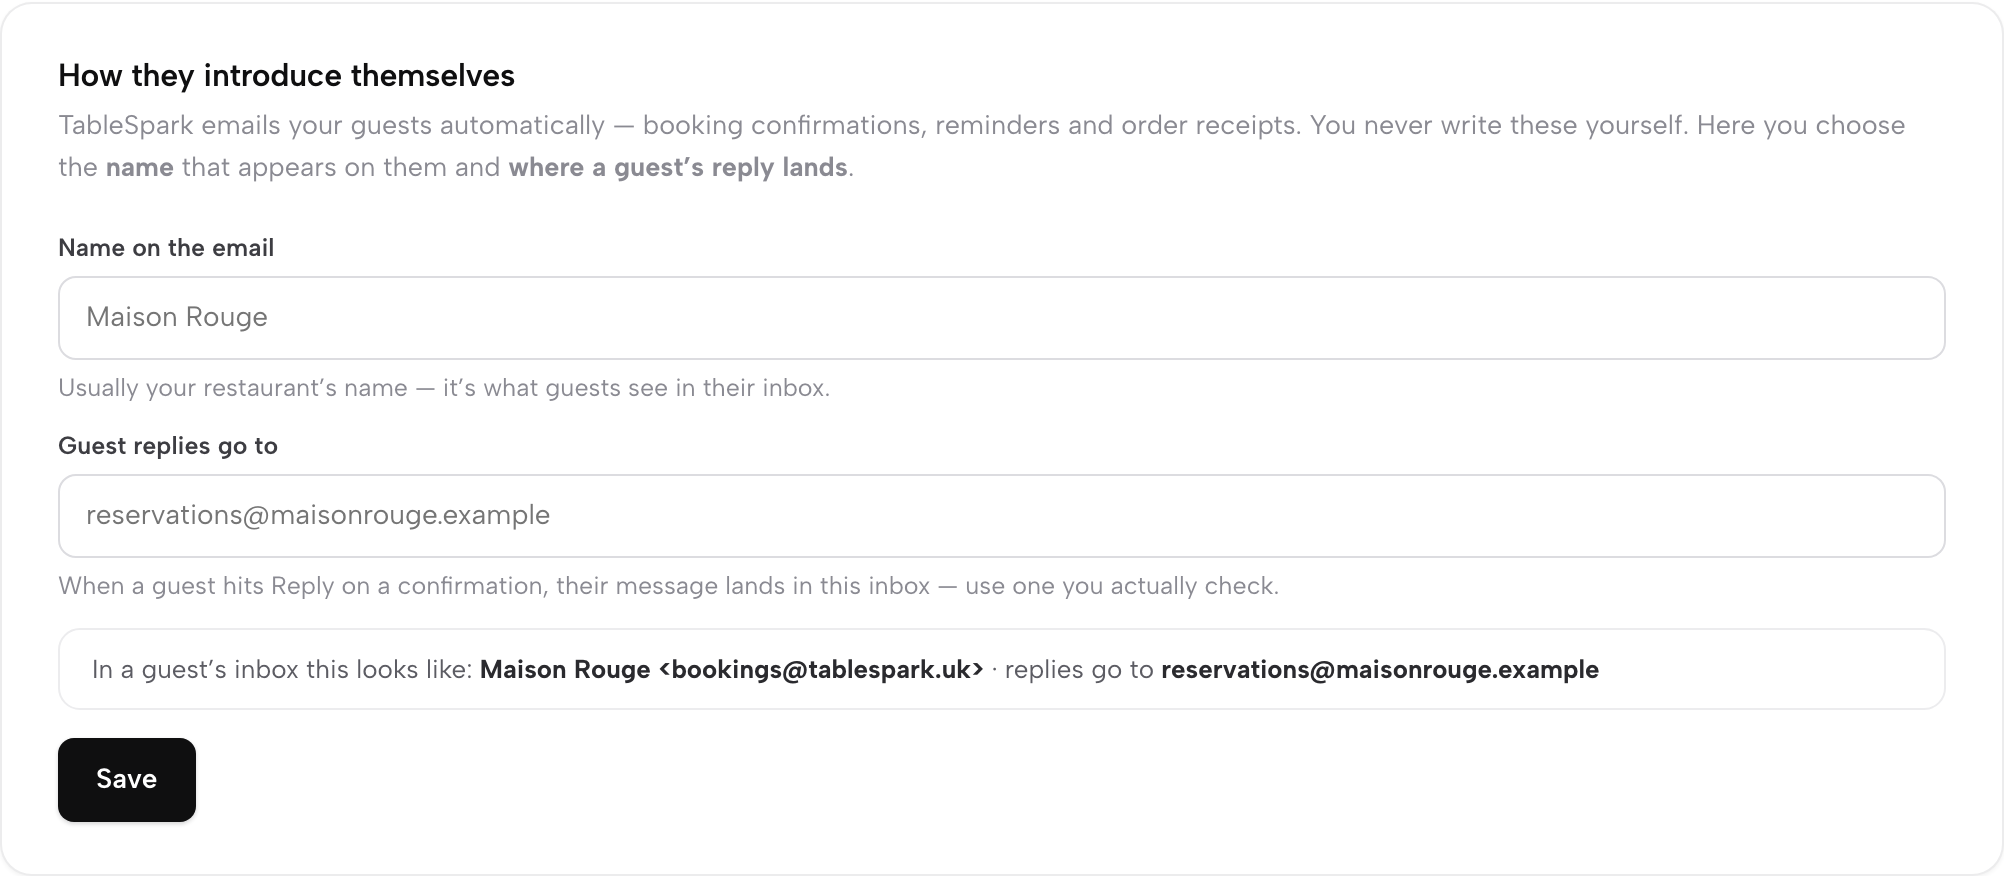
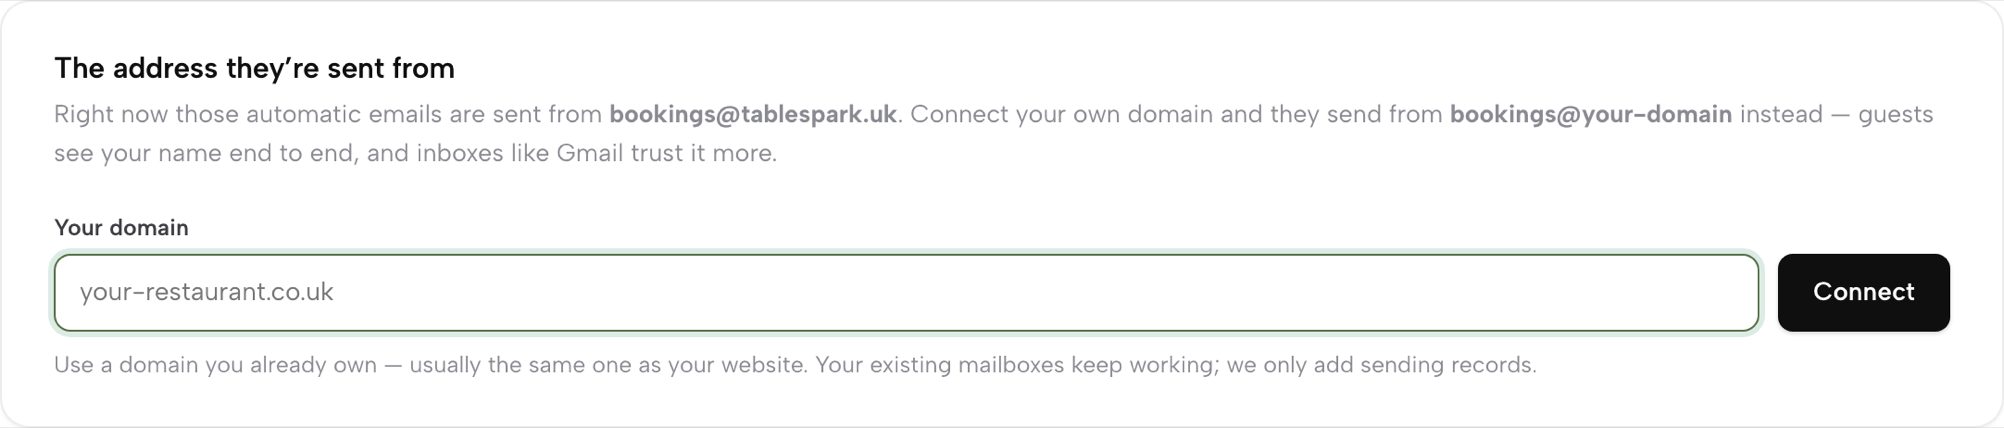
Next comes The address they’re sent from. Right now those emails go out from bookings@tablespark.uk. Type a domain you already own — usually the same one as your website — into Your domain and press Connect, and they send from bookings@your-domain instead, so guests see your name end to end. Your existing mailboxes keep working; only sending records are added. Further down, What your emails say and Email design let you reword and restyle each email — guide 12 walks through them.
Put together, that is the full set: a domain guests can trust, bought and run without touching DNS; a professional inbox on it, on your phone, for the price of a coffee; and every automatic email your restaurant sends wearing the same name. All of it lives in the same login as the website, and none of it waits on a specialist.
First · your domain
Give it a proper address first
Mailboxes run on your own domain — if you haven’t set one up yet, that tutorial takes two minutes.